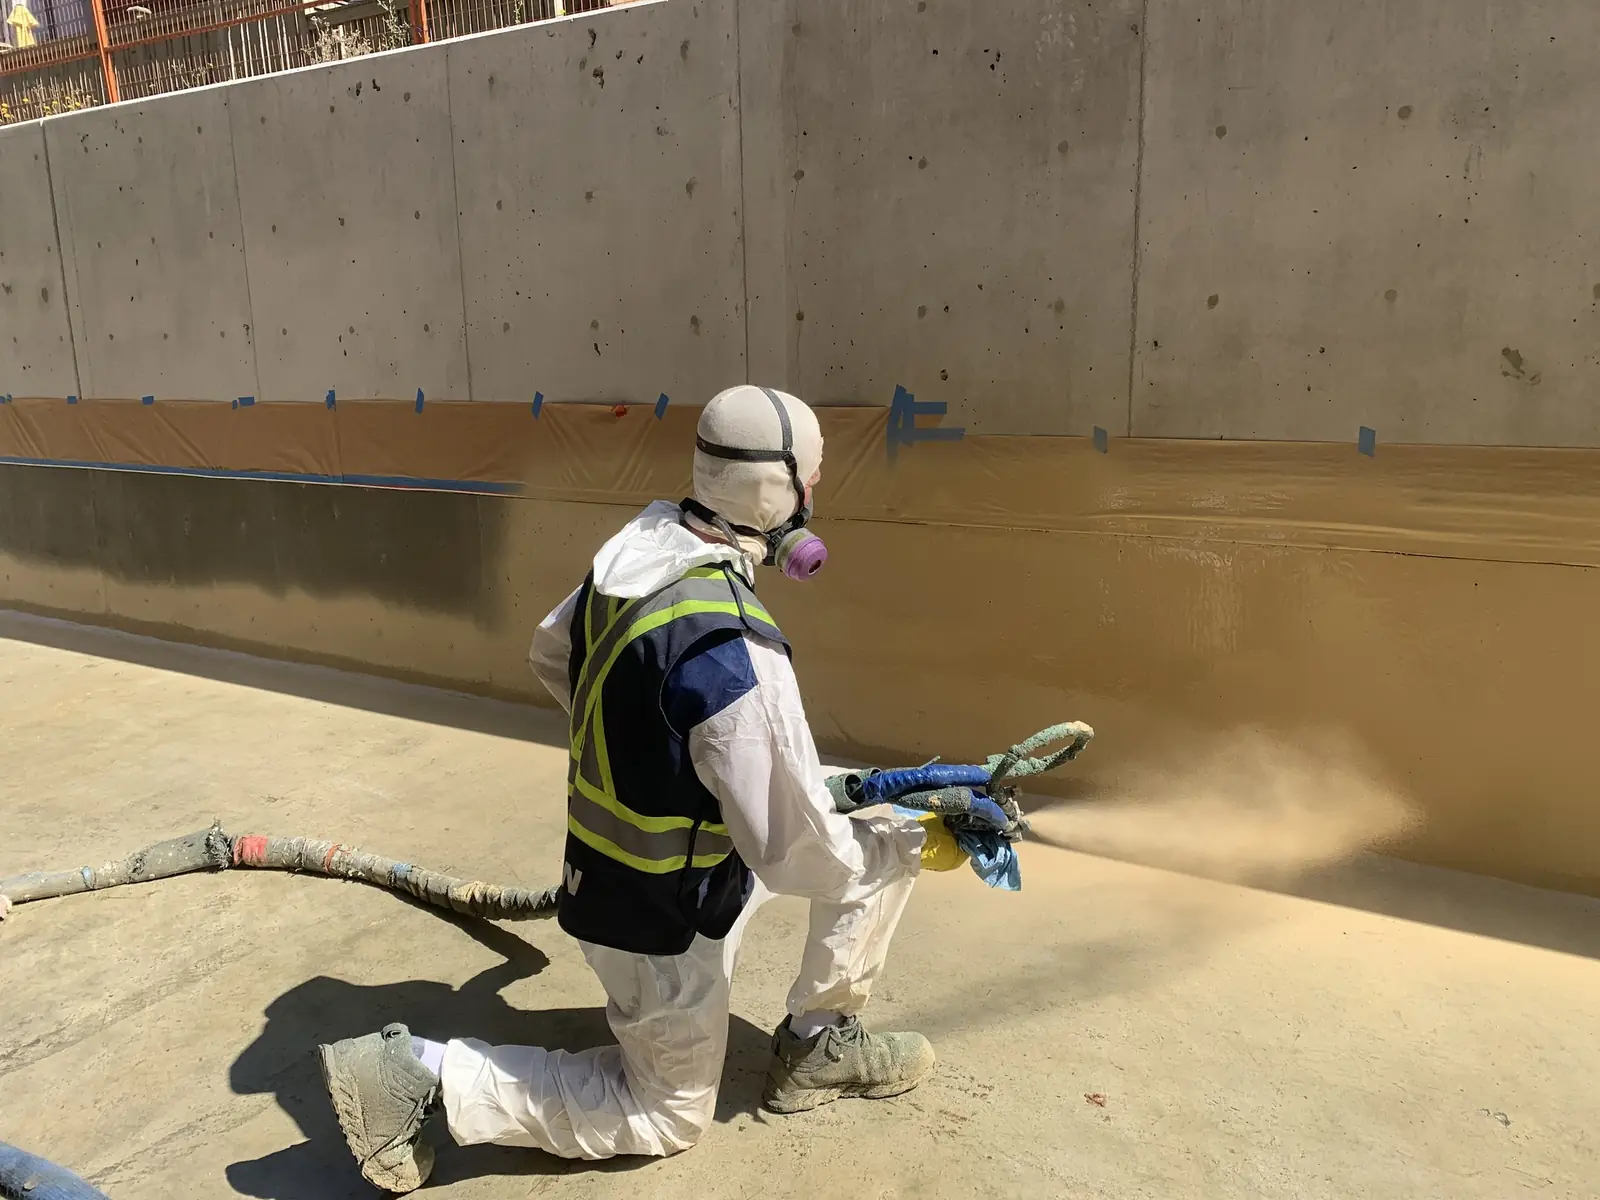
Concrete
Grind or shot blast to open the surface, repair cracks, test for moisture and prime. Concrete breathes, so outgassing and damp are the usual causes of blisters.
Six surfaces
Most coating failures trace back to the surface underneath. Each material asks for different preparation.
Grind or shot blast to open the surface, repair cracks, test for moisture and prime. Concrete breathes, so outgassing and damp are the usual causes of blisters.
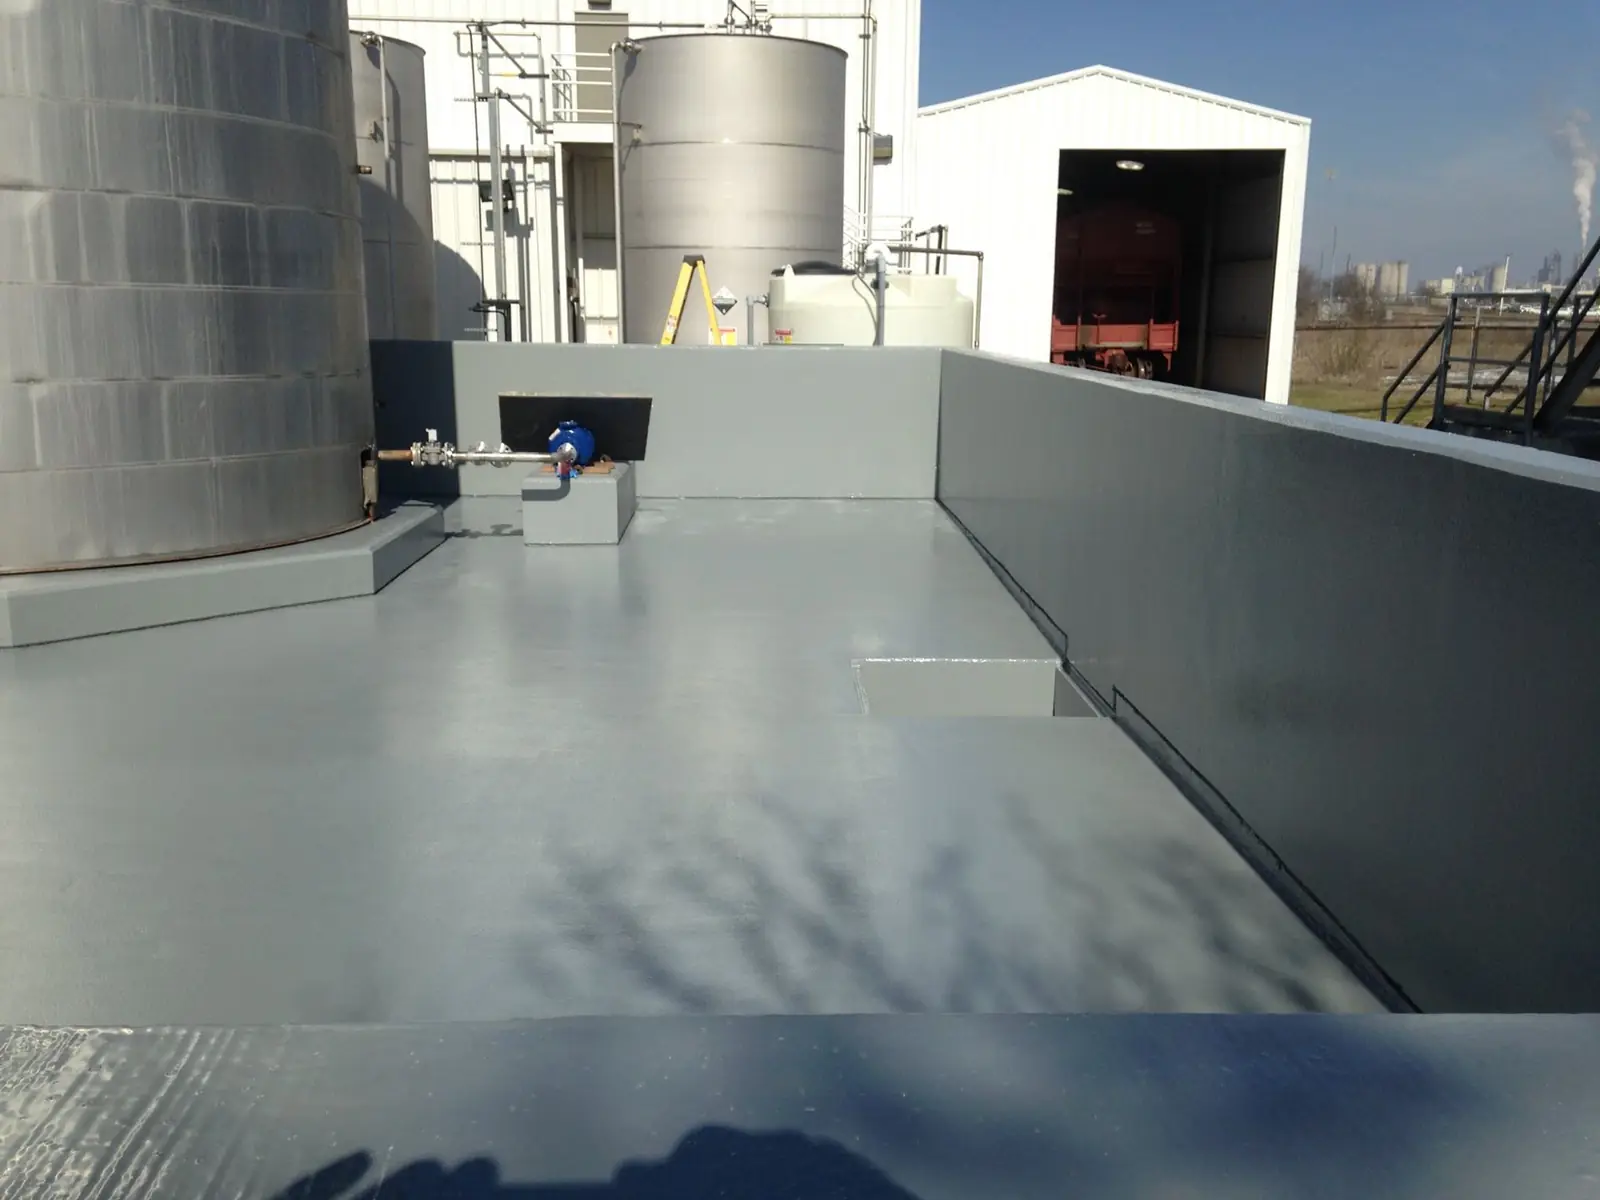
Blast to the cleanliness and profile the data sheet names, remove salts, and coat before flash rust returns. Edges and welds need extra attention.
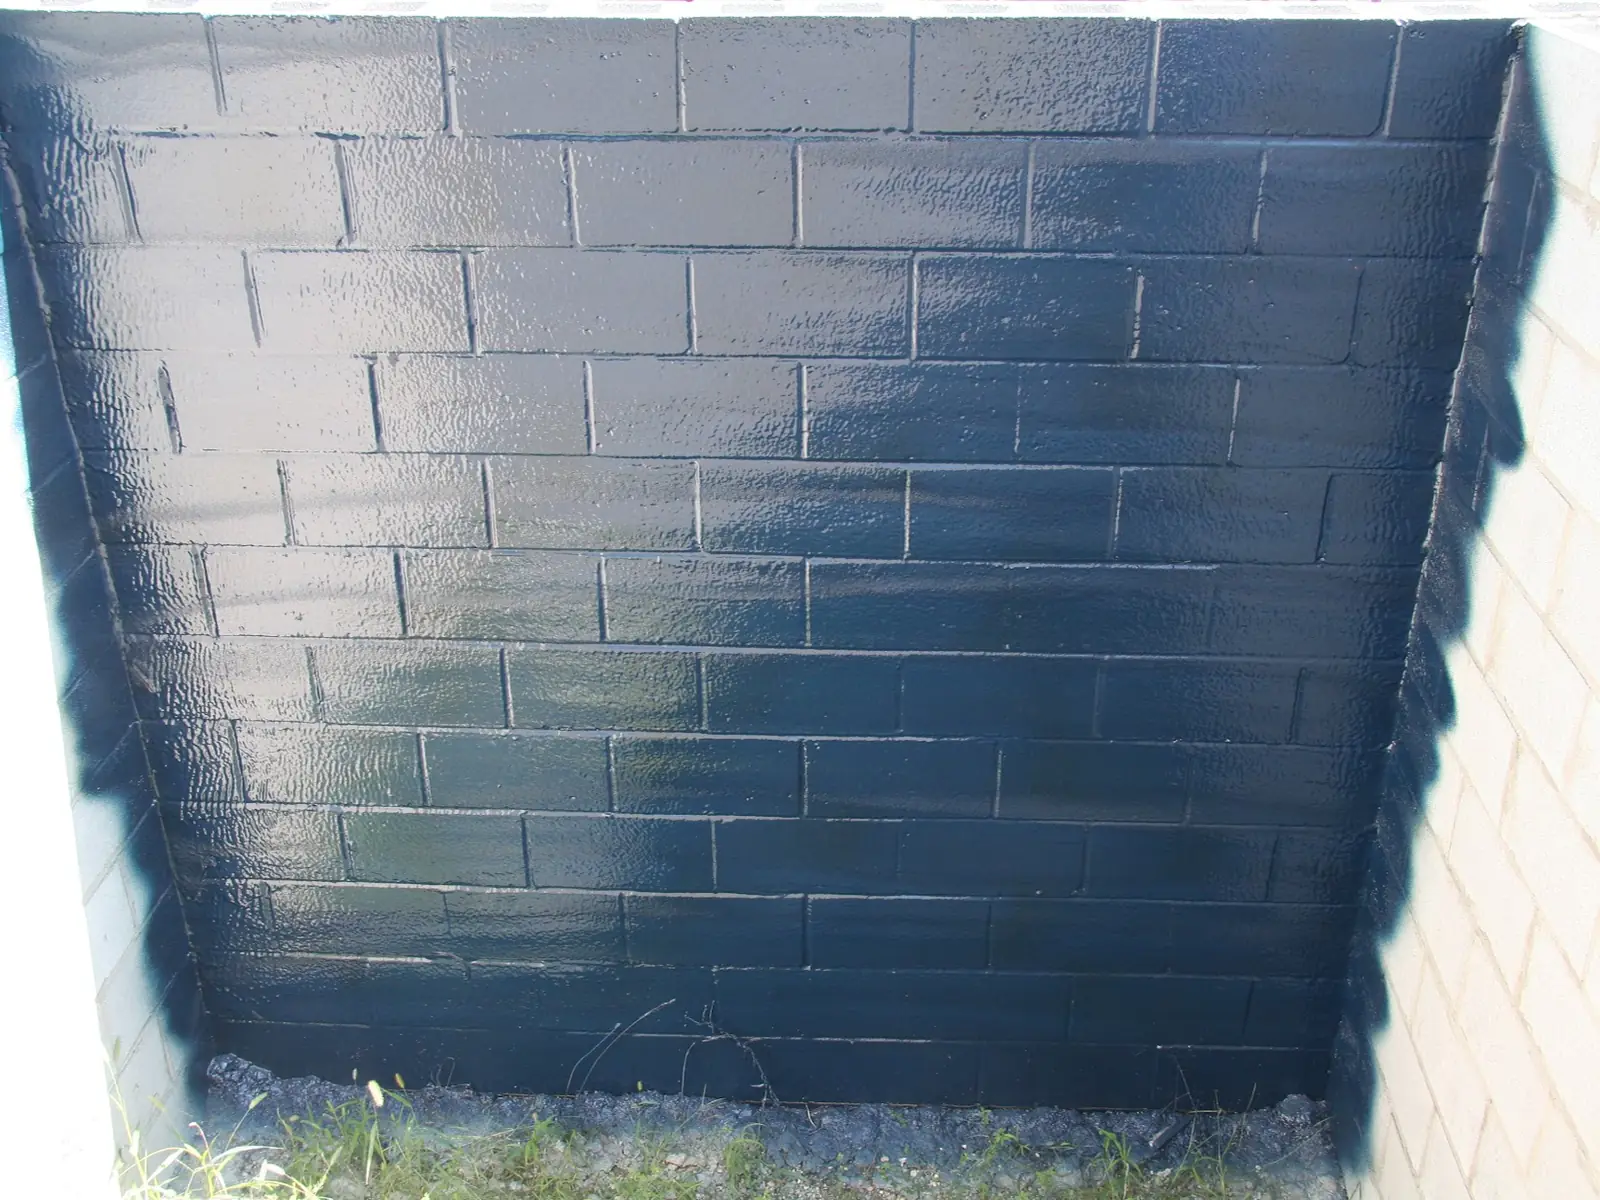
Fill voids, clean off dust and efflorescence, and prime to seal pores. Block walls often need more material to build an even film.
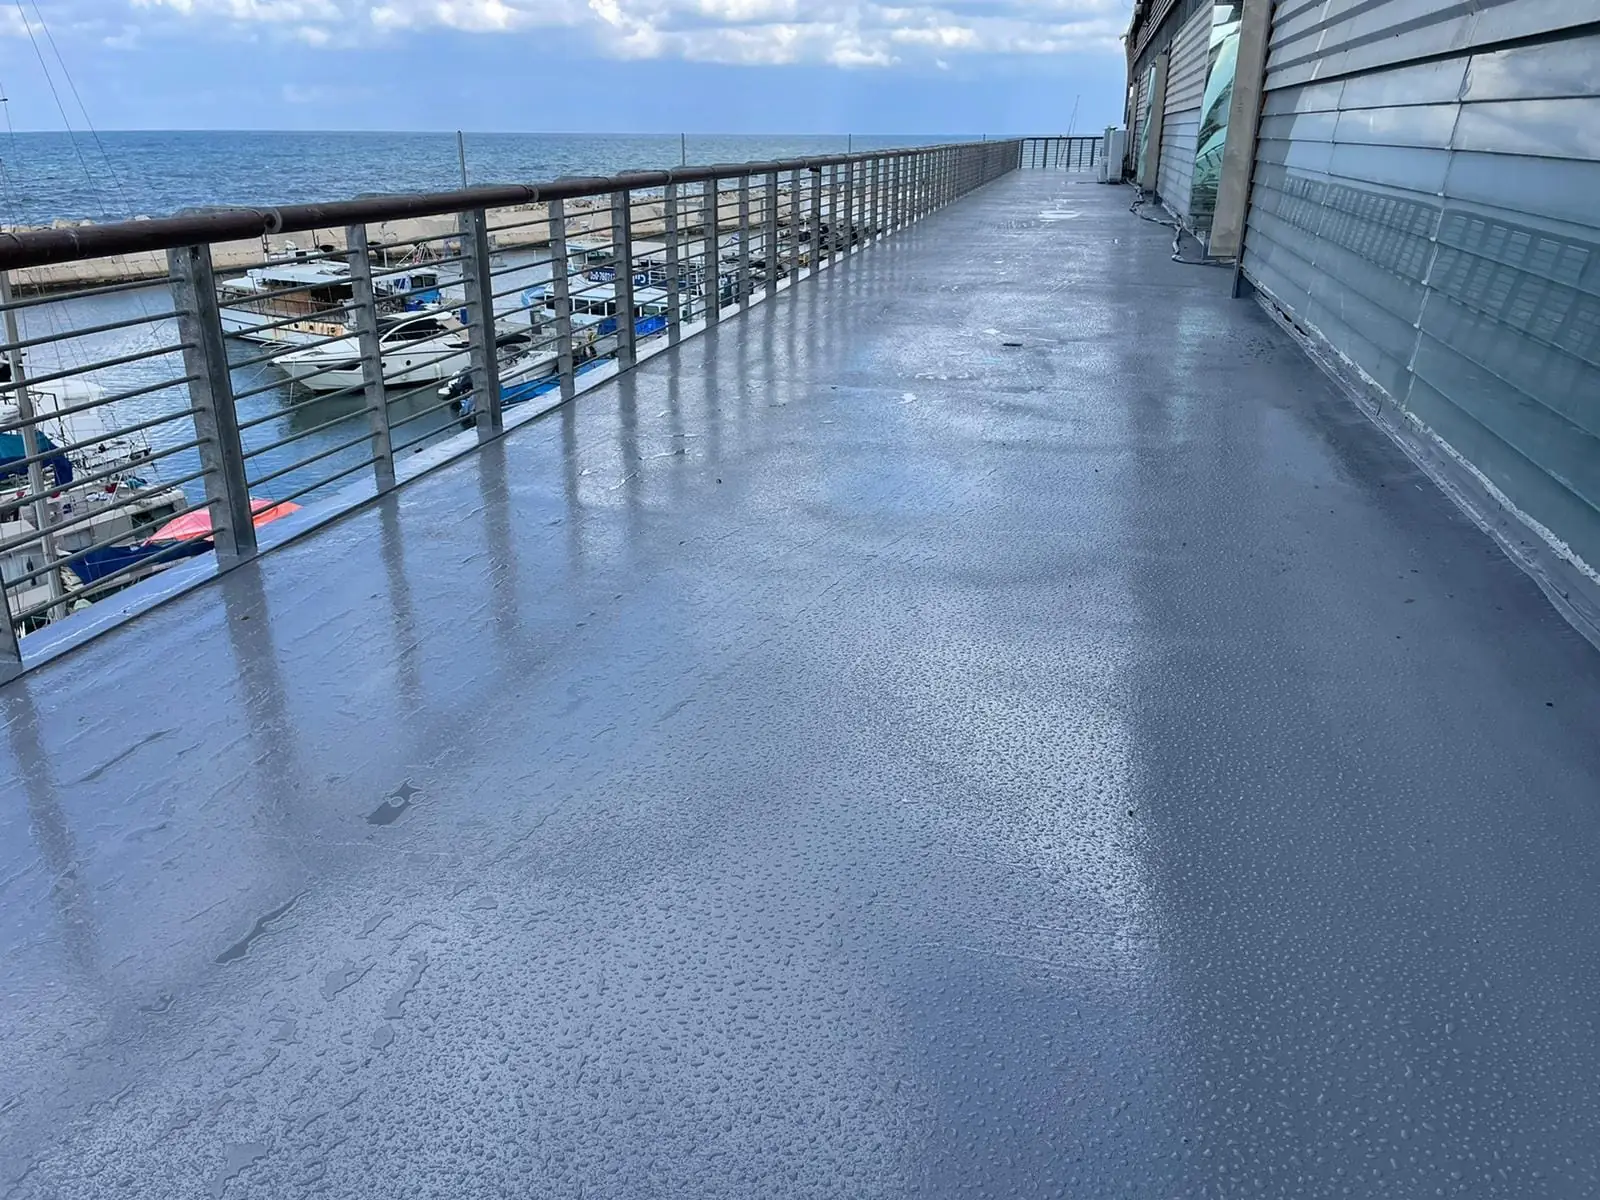
Dry, sound and clean wood takes coatings well. Fasteners should be set, joints detailed, and moisture content checked before spraying.
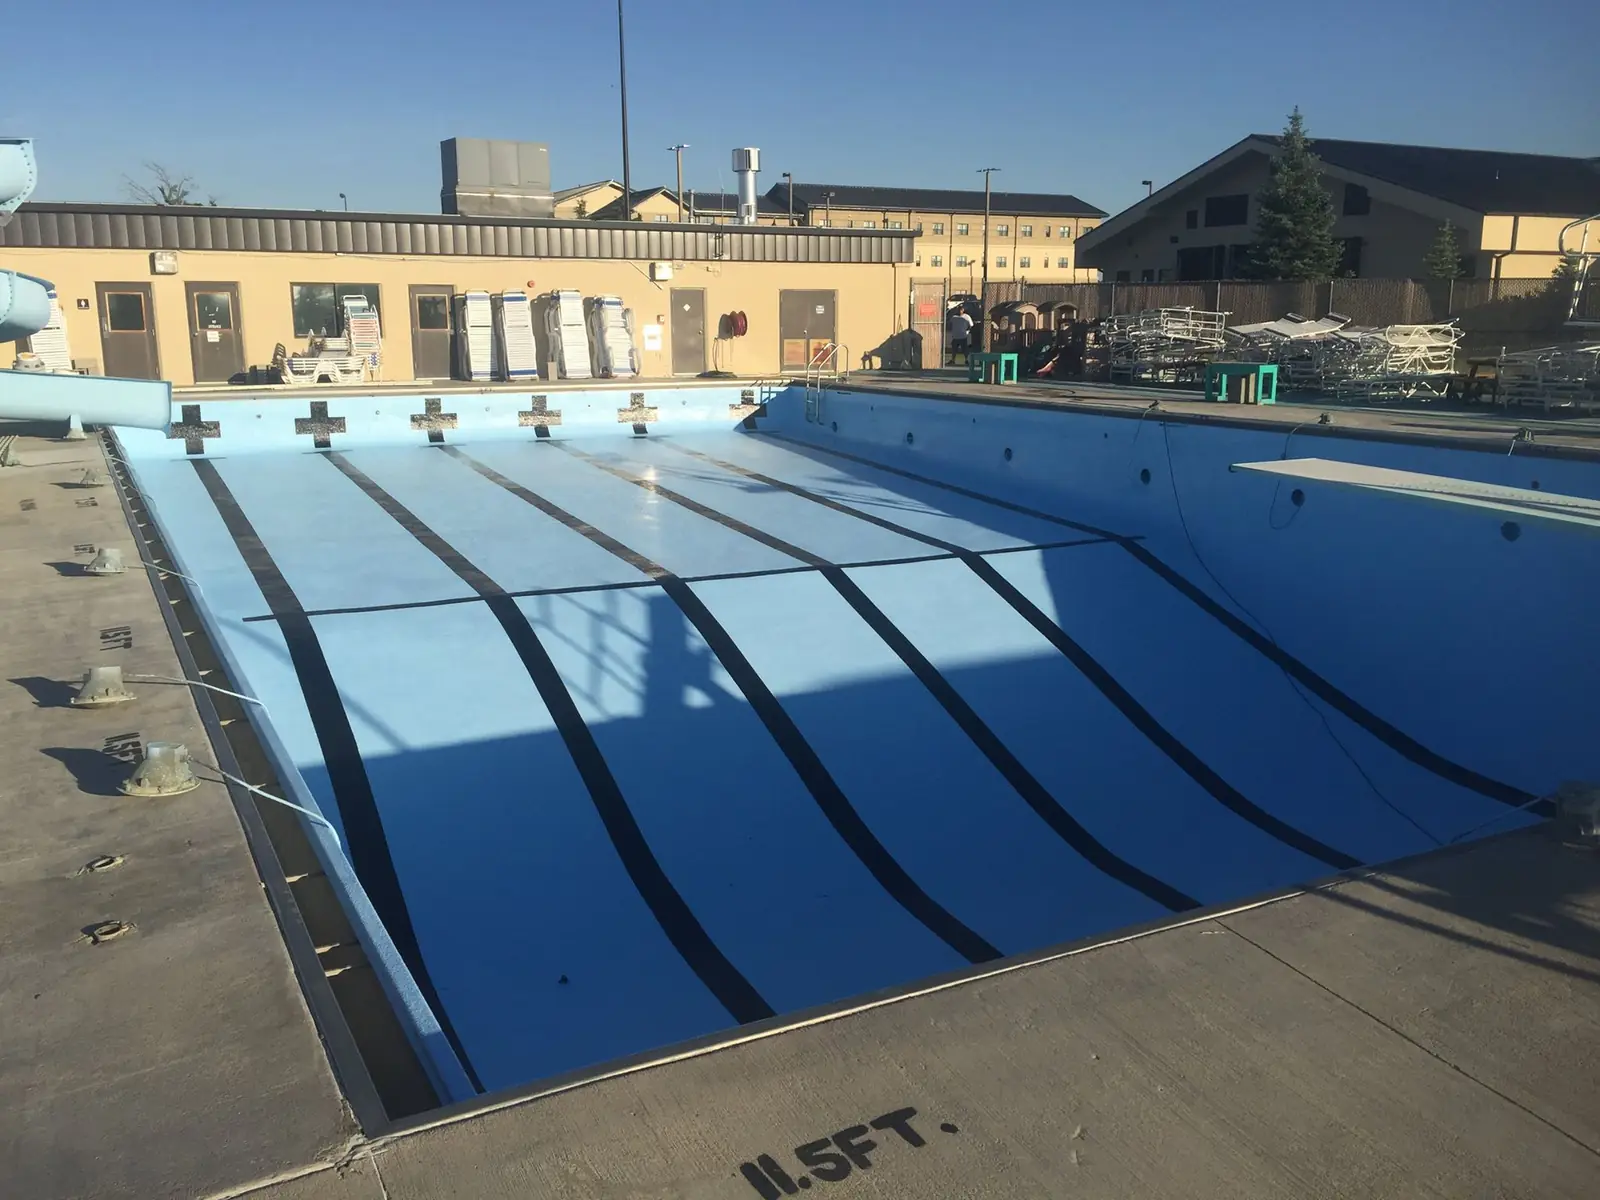
Test adhesion first. Many older finishes need to be removed or abraded, and some do not accept polyurea at all.
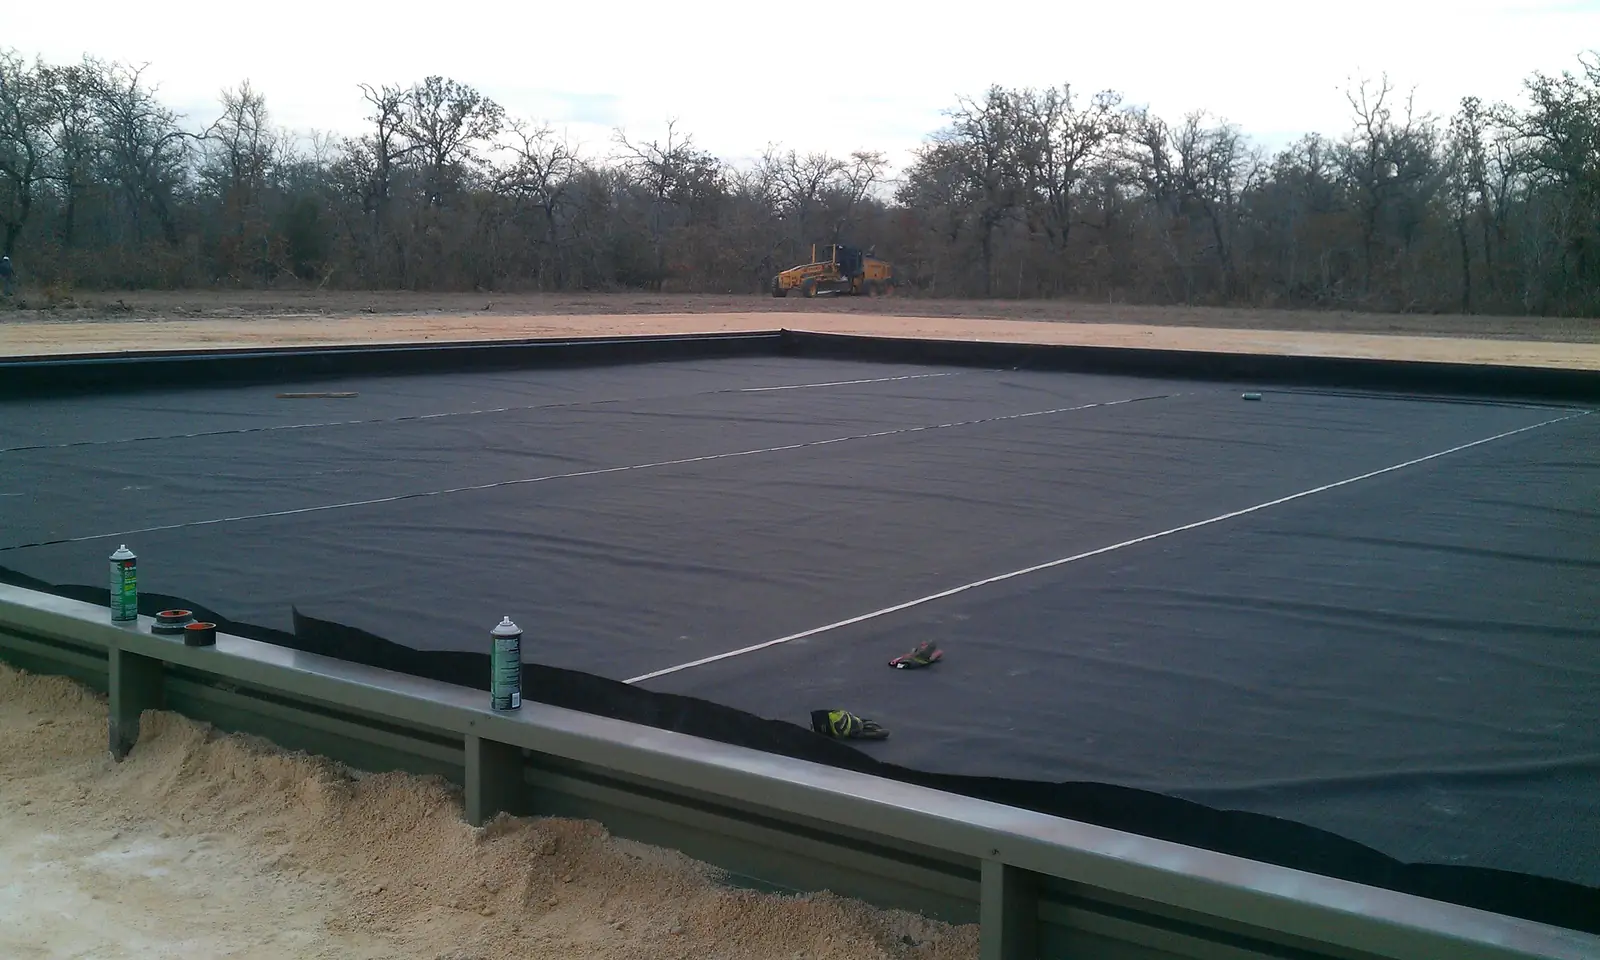
Fabric over soil or a structure gives the coating something to grip and bridges uneven ground in containment and lining work.
Before anything
A test patch with an adhesion check tells you more about a surface than any chart. Read the surface preparation guide for the cleaning, repair and profiling steps, and inspection and testing for the checks that follow.